
A Dollhouse For Our Maileg: Part 3 - Interior Paint and Flooring
- dutchmansmarketut

- Mar 3, 2021
- 4 min read
Updated: Sep 2, 2022
After much thought, this is the room layout we decided on for our Maileg dollhouse:

Here is what I had for beds in each room, as well as what paint and wallpaper I chose for each room:
Boys Room


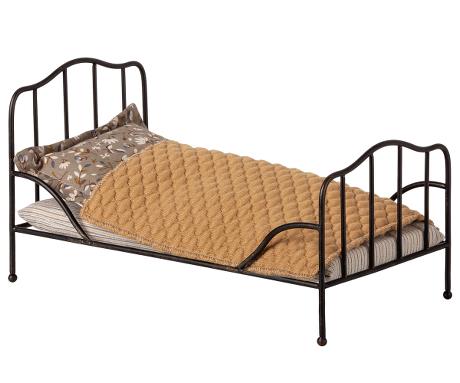
Maileg Teddy Bed
Custom Blue Paint

Girls Room


Maileg White Bed
Custom Pink Paint

Grandparents Room


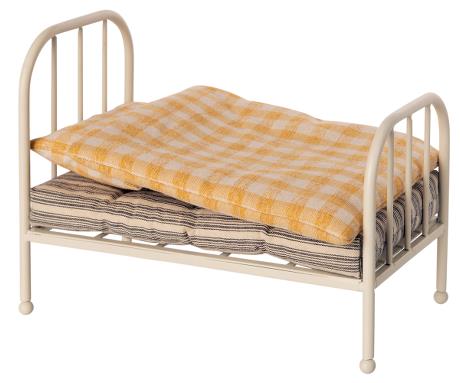
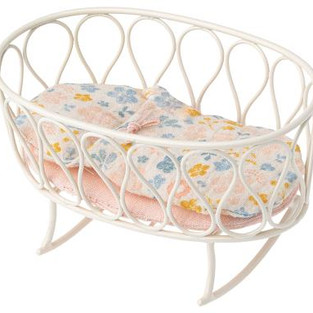
Maileg Vintage Bed
Custom Mustard Paint

Kitchen


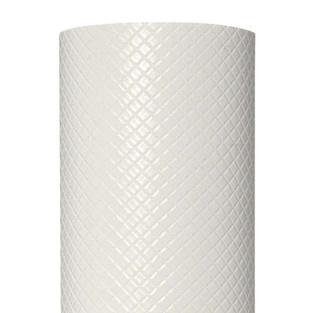
Flooring: White Diamond Shelf Liner

Laundry and Bath

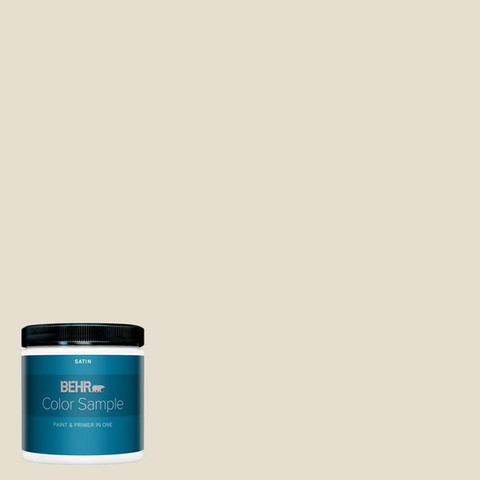

Behr Confident White Paint

Living Room
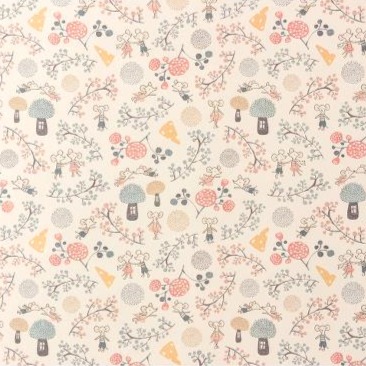
Custom Wallpaper from Lella Boutique

Master Bedroom


Shiplap using Birch Wood Edging

Nursery


Light Blue paint remnant from my house


Things I learned:
I painted the walls first to avoid getting paint on the wallpaper. What I found was many of the wallpapers were see-through enough (especially the beige rainbows) that I had to go back and reprime the corners to avoid the paint being seen underneath the wallpaper. So paint your edges cautiously even if they are going to be covered.
I would not have guessed it, but small areas are more difficult to wallpaper than large areas. I precut the "wallpapers" to size for each room. I wish I had cut them just a tiny bit larger and then cut them down to room size. But even with that, it was not easy to get them smooth and I did not succeed in most rooms.
The wallpaper and contact paper did not stick well originally. So, I used spray glue to make them stick better, as well as to attach the gift bag.
I made sure to wallpaper the entire wall, including the window first. I then cut out the window using the xacto knife from the wallpaper smoothing kit when the wallpaper was up. Cutting the windows out was not difficult with a light behind the window so I could see the void easily.
Flooring
Except for the kitchen, I used Birch Wood Edging and sealed it with Spar Urethane for real wood flooring throughout the dollhouse. The real wood veneer edging comes in many different widths and wood options. They also come pre-glued ready to install using an iron. I precut the 250-foot roll into six-inch pieces so that the dollhouse had more of a realistic floor look with complete. The only tools you need to apply this veneer edging are a regular household iron at cotton temperature and either your xacto knife or the miter shears for cutting.
Fill any large holes and sand rough spots. Remove sawdust making sure the surface is completely clean.
Preheat iron on the “cotton” setting, position edging, slowly press iron over the edging, and check to see if the glue is melting. Note: Use kraft paper or aluminum foil to protect the iron bottom.
While still hot, press the veneer down firmly with a woodblock or roller. I was able to maneuver the pieces so that they fit snugly against the other pieces while it was still warm. If there was a mistake, I simply reheated and moved the veneer.
Allow edging to cool completely, and trim any excess with a razor blade or the xacto knife. I then sanded it entirely, especially the front edge, with fine-grit sandpaper until it was smooth.


As you can hear, I was really unsure whether to stain the floor or not. I just didn't feel like you could really see how gorgeous the grains were as is, and thought it might be better if it was slightly darker. But in the end, I love the natural color so much I just wanted to highlight it. I started by spraying it and the wallpapers with spray lacquer. It did not do any damage to the papers (I did spray tests first to make sure), and it definitely helped to pull out some of the wood grain, but it didn't protect the floors as much as I was hoping it would. So I switched to a Spar Urethane on the floors and yes!! This was exactly what I was hoping for. I absolutely love how they turned out.

On the shiplap in the master bedroom wall, I thinned out the Confident White paint and whitewashed the wall to lighten up the wood even more. I did not put the spar urethane on the shiplap so that it looked more natural. In the laundry room, I watered down the Aquamarine Dream paint and used it on the floor.
Lessons learned: the moisture curls the edging up. If I did it again, like spray paint, I would use less paint and instead do more coats to avoid that as much as possible. I ended up having to fill the gaps caused by the shrinking and curling with Patch n Paint on the master wall. In the laundry room, I sanded as best I could, but there are still some gaps.


Tools
Iron
Measuring Tape
Scissors
Supplies


This is interesting content https://batoto.website/about
Thank you so much for sharing your expertise in making a doll house. I have endeavored to make a house very similar to a beach house that my family stayed in over the years. My children have since grown up and moved away and we don’t get the time to spend on the coast like we used to. The house is designed after the beach house in hopes that my granddaughters will enjoy it when they come to visit and I can share stories of their dads as kids. I never thought of using edging for the flooring, thanks for the tip! I can hardly wait to make my floors now!
I'm in the process of updating the doll house my brother made for me as a child. I'm going to pass it on to my own children. I just LOVE this blog series and all of your helpful tips. Thanks so much for sharing so many specifics and providing such a helpful model. Your house is DARLING. BTW, I completely agree that the natural wood finish was the way to go on the flooring. Great choice!